
In this tutorial we are going to talk about local notification using ionic with capacitor. This similar to push notification in terms of looks and feel. Generally push notification are sent from server but they are sent from local device itself.
To send to local notification you need to create first in UI end based on condition, For example you have diet app and in that you want to remind user for his time to time activity in a day based on his diet plan then you can schedule these notification in local device itself.
Note:- Local notification are completely free instead push notification are much expensive because to use push notification you need to use some external services(like Azure notification hub, OneSignal etc.) . They will charged you per notification.
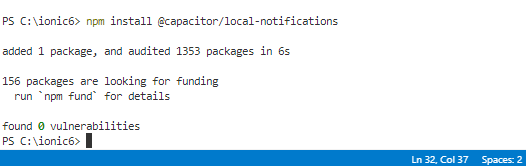
Lets start, Today we are using official local notification plugin which is maintained by capacitor. To use local notification you need run following command in your app terminal window.
npm install @capacitor/local-notifications
You can configure some options for android like notification icon, icon color and sound
In capacitor.config.ts
To use custom icon and sound you need icon and sound inside android folder. You can use below mentioned location to place icon and sound file.
Icon - android/app/src/main/res/drawable-hdpi
Sound - android/app/src/main/res/raw
Schedule Notification:- Now time for schedule your first notification. First you need to import plugin in your component
import { LocalNotifications } from '@capacitor/local-notifications';
Let's create a function to schedule notification
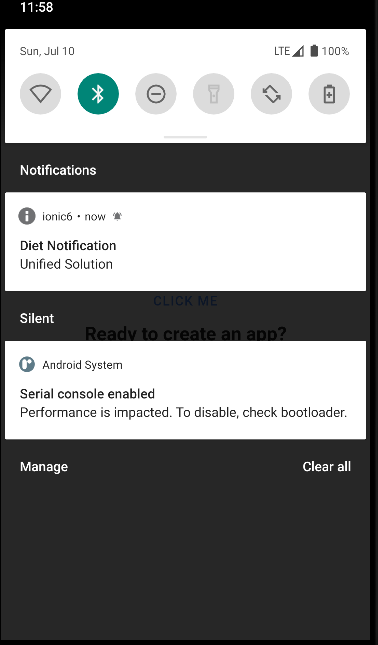
Congrats, you have scheduled your first notification. Now time to check notification in your device.


1 Comments
Thanks for article. Can you please create article for capacitor push notification
ReplyDelete